
Skip the pro install and save $500
Professional security companies often charge $500 just to show up and drill holes. You don't need them. By 2026, the hardware has become so simple that anyone who can use a smartphone can secure their own house. I've found that skipping the 'pro' install is the easiest way to keep that cash in your pocket.
The days of needing an electrical engineering degree to install a security system are long gone. Modern systems prioritize wireless connectivity and intuitive apps, making the process manageable for most people. While a DIY approach does require a time investment and you’ll still likely pay monthly monitoring fees if you choose that route, the upfront savings are significant.
Most people get stuck choosing between a fully wireless setup or a hybrid system. I'll break down which sensors actually matter and where you can save money on monitoring fees without leaving your front door wide open.
Choosing your hardware
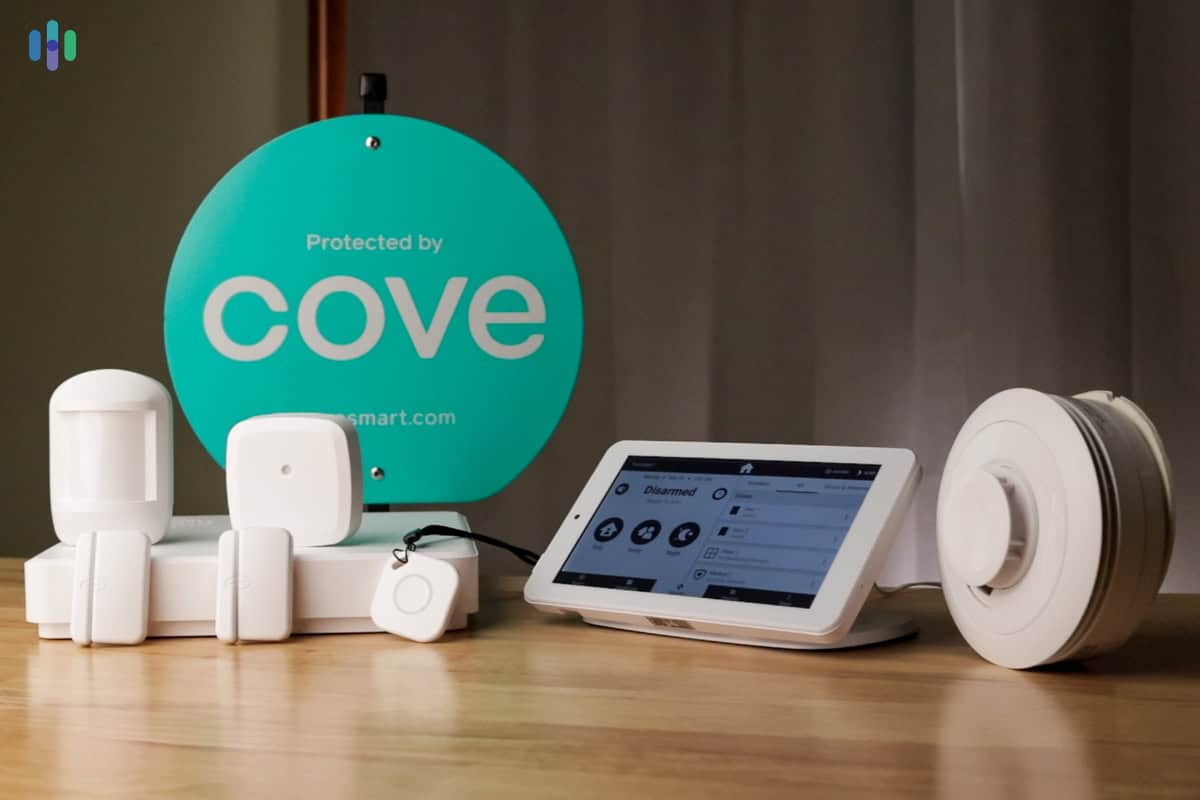
DIY security systems generally fall into three main categories: fully wireless, hybrid, and hub-based. Fully wireless systems, like many SimpliSafe configurations, are the easiest to install, relying on batteries and Wi-Fi for connectivity. However, battery life and potential signal interference are key considerations with this approach.
Hybrid systems offer a balance between convenience and reliability. They typically include a base station connected to power and some wired sensors, while others operate wirelessly. This requires some basic wiring knowledge, but it can provide a more stable connection for critical sensors. It’s a good option if you have existing wiring in place.
Hub-based systems, like those built around SmartThings or Hubitat, integrate your security devices with other smart home gadgets. While offering flexibility, these systems require careful compatibility checks to ensure all your devices will work together seamlessly. You need to be comfortable managing a more complex smart home ecosystem.
ADT offers DIY options now as well, leveraging their brand recognition and professional monitoring services in a self-installation package. It’s worth comparing their offerings to other standalone DIY brands.
- Fully wireless: These run on batteries and Wi-Fi. They are the fastest to set up but you'll be changing batteries every year.
- Hybrid: Balance of wired and wireless, requires some wiring knowledge, more reliable.
- Hub-Based: Integrates with smart home devices, requires compatibility checks, complex setup.
Tools & Skills: What Do You Need?
The good news is, most DIY security systems require minimal tools and skills. You’ll likely need a screwdriver, and possibly a drill with various bits depending on the mounting surfaces in your home. A ladder may be necessary to reach high windows or outdoor camera locations.
Basic DIY skills – the ability to follow instructions, tighten screws, and maybe drill a few holes – are usually sufficient. Reading the installation manual carefully is essential. Don’t skip steps or assume you know better. Take your time, and double-check your work.
Common tasks include mounting sensors on doors and windows, connecting the base station to power and Wi-Fi, and testing the system to ensure everything is functioning correctly. One potential challenge is a weak Wi-Fi signal. If you experience connectivity issues, consider using a Wi-Fi extender to boost the signal strength in problem areas.
- Screwdriver
- Drill (optional)
- Ladder (optional)
- Wi-Fi extender (if needed)
Where to put your sensors
Proper sensor placement is critical for maximizing the effectiveness of your security system. Door and window sensors should be installed on all exterior doors and ground-floor windows. Ensure the two parts of the sensor are aligned correctly and within the specified distance of each other.
Motion detectors should be placed in high-traffic areas, such as hallways and living rooms, but avoid placing them facing windows. Sunlight or moving objects outside can trigger false alarms. Also, be mindful of furniture that could obstruct the sensor’s field of view.
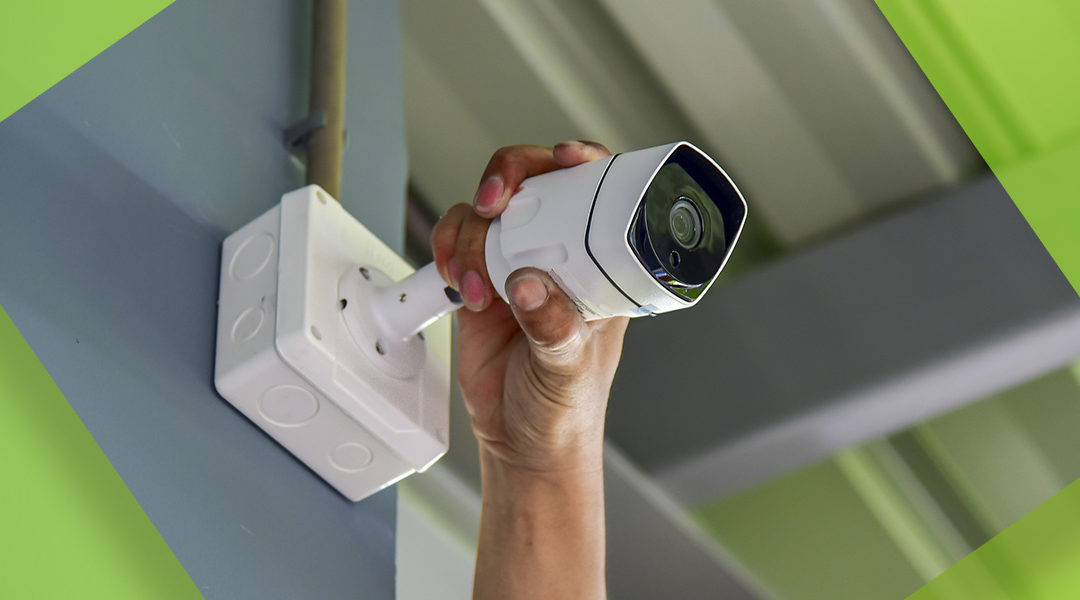
Outdoor cameras should be mounted at a height of around 9-10 feet, angled downwards to capture a clear view of the property. Avoid glare from direct sunlight or streetlights. Consider the range of the camera and ensure it covers all vulnerable areas.
If you have pets, look for motion detectors with pet immunity features. These sensors are designed to ignore movements from animals below a certain weight, reducing the risk of false alarms. Adjust the sensitivity settings carefully to fine-tune the pet immunity function.
Wiring & Wireless: A Practical Guide
For hybrid systems that require wiring, safety is paramount. Always turn off the power to the circuit you’ll be working on at the breaker box before handling any wires. Use wire strippers and connectors to create secure connections between sensors and the base station. Follow the manufacturer’s instructions carefully.
When running low-voltage wiring, try to conceal it as much as possible to maintain a clean and professional look. You can use cable clips or run the wires through walls or ceilings. Be careful not to damage existing wiring during installation.
For wireless systems, the process is typically much simpler. You’ll need to pair each sensor and camera with the base station, usually by entering a unique code or pressing a button on the device. Follow the on-screen instructions in the system’s app.
Wireless signals can be affected by interference from other electronic devices. If you experience connectivity issues, try moving the base station away from potential sources of interference, such as microwaves or cordless phones. Updating the system’s firmware can also sometimes resolve connectivity problems.
Monitoring Options: Self vs. Professional
Once your system is installed, you need to decide on a monitoring option. Self-monitoring is the most affordable choice, as you’re responsible for responding to alerts and contacting emergency services if needed. This requires you to be vigilant and available 24/7.
Professional monitoring provides 24/7 protection, with a monitoring center dispatching emergency services on your behalf. This offers peace of mind, but it comes at a monthly cost. Contract lengths and cancellation policies vary between providers, so read the fine print carefully.
Costs for professional monitoring can range from $20 to $60 per month, depending on the features and level of service. Some companies, like ADT and SimpliSafe, offer different tiers of monitoring plans with varying features. Cellular backup is a valuable feature to consider, as it ensures your system will continue to function even if your Wi-Fi goes down.
Ultimately, the best monitoring option depends on your individual needs and budget. If you’re comfortable handling emergencies yourself and have a reliable internet connection, self-monitoring may be a good fit. Otherwise, professional monitoring provides an extra layer of security and peace of mind.
Troubleshooting Common Issues
Even with careful installation, you may encounter some issues. False alarms are a common problem, often caused by improper sensor placement, pet interference, or low battery levels. Check your sensor settings and ensure all sensors are securely mounted.
Connectivity issues can be frustrating. Ensure your Wi-Fi network is working properly and that the base station is within range of the router. Try restarting the base station and sensors. If the problem persists, contact your internet service provider.
Sensor malfunctions can occur. Replace the batteries in wireless sensors regularly. If a sensor continues to malfunction, contact the manufacturer for support. Resetting the entire system to factory settings can sometimes resolve persistent issues, but you’ll need to reconfigure all your devices.
Always test your system regularly to ensure it’s functioning correctly. Trigger the alarm and verify that the base station responds and sends alerts. Familiarize yourself with the system’s features and troubleshooting steps.
- Check the SimpliSafe online forums for sensor sync errors.
- ADT Support:


No comments yet. Be the first to share your thoughts!