
Real savings: DIY security in 2026
Want to protect your home without a hefty bill? More homeowners are turning to DIY security systems, and for good reason. The potential savings are substantial. Professional installation can easily run between $200 and $800, depending on the complexity of the system and your location. By taking on the installation yourself, you can realistically save $500 or more upfront.
DIY security isn’t just about saving money, though. It’s about having control. These systems are designed for the average homeowner, with no specialized tools or technical expertise needed. While it’s true that DIY isn't for everyone – some people simply prefer the convenience of professional handling – the accessibility of these systems has dramatically increased in recent years.
A typical setup involves unboxing components and syncing them to your Wi-Fi via an app. Most systems are straightforward. I'll cover how to pick the gear and get it running without calling a technician.
Content is being updated. Check back soon.
Types of DIY systems
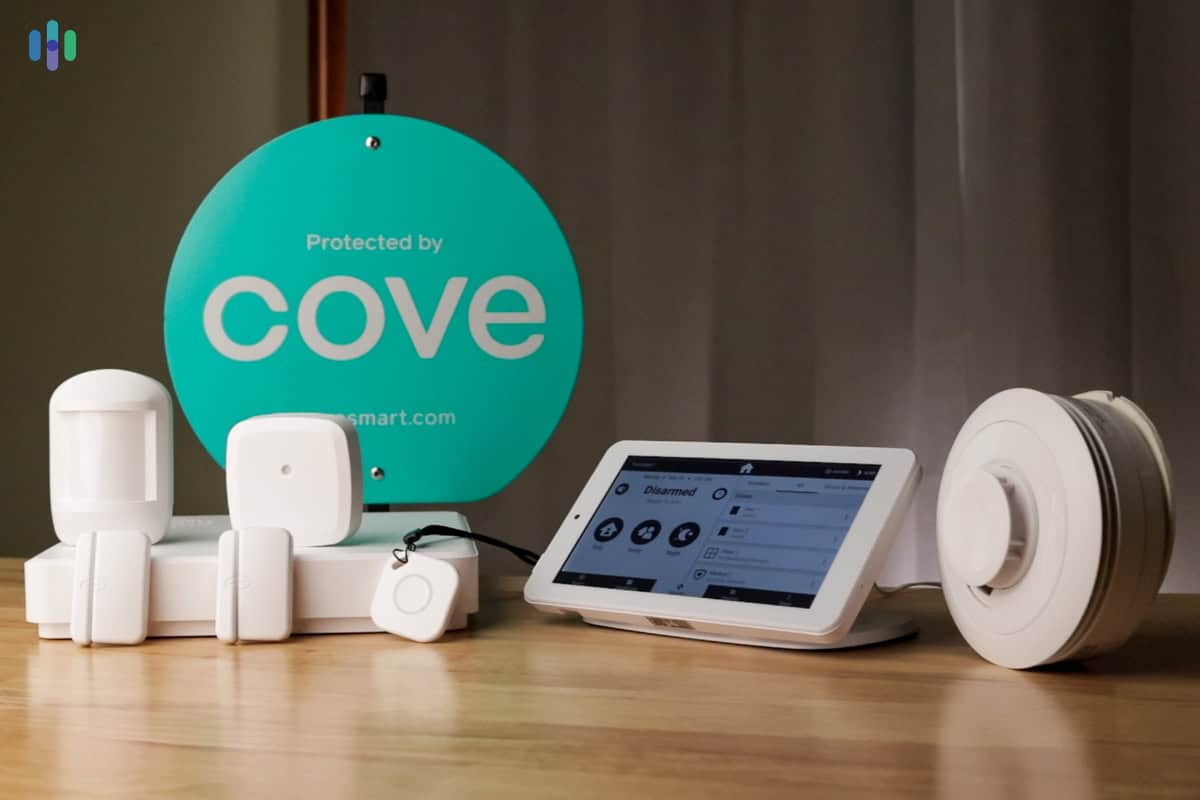
The world of DIY security systems isn’t one-size-fits-all. You’ll encounter a few main categories, each with its own set of trade-offs. SimpliSafe, frequently mentioned by security.org, is a prime example of a fully self-monitored system. You purchase the equipment, install it yourself, and are responsible for monitoring alerts and contacting emergency services if needed.
Other systems, like those offered by ADT, offer optional professional monitoring. This gives you the flexibility to self-monitor when you’re available and rely on professionals when you’re away or asleep. This usually involves a monthly fee, but provides an extra layer of security and peace of mind. It’s a good middle ground for people who want some assistance but still want to save money.
Finally, some DIY systems are designed to integrate with existing smart home setups. These systems often work with platforms like Amazon Alexa or Google Assistant, allowing you to control your security system with voice commands. This can be convenient, but it also means relying on the security of your smart home ecosystem. Wired systems are less common now, but can offer more reliability in areas with poor Wi-Fi, though they require more extensive installation work.
- Self-monitored systems where you handle every alert yourself.
- Hybrid options that let you pay for professional help only when you're on vacation.
- Smart Home Integration: Convenience at the cost of relying on another system.
The gear you actually need
A basic DIY security system will typically include a base station, which acts as the central hub, connecting all your sensors and communicating with the monitoring service (if you have one). You’ll also need door and window sensors to detect unauthorized entry, and motion detectors to cover larger areas. A keypad is essential for arming and disarming the system, and indoor/outdoor cameras provide visual verification of events.
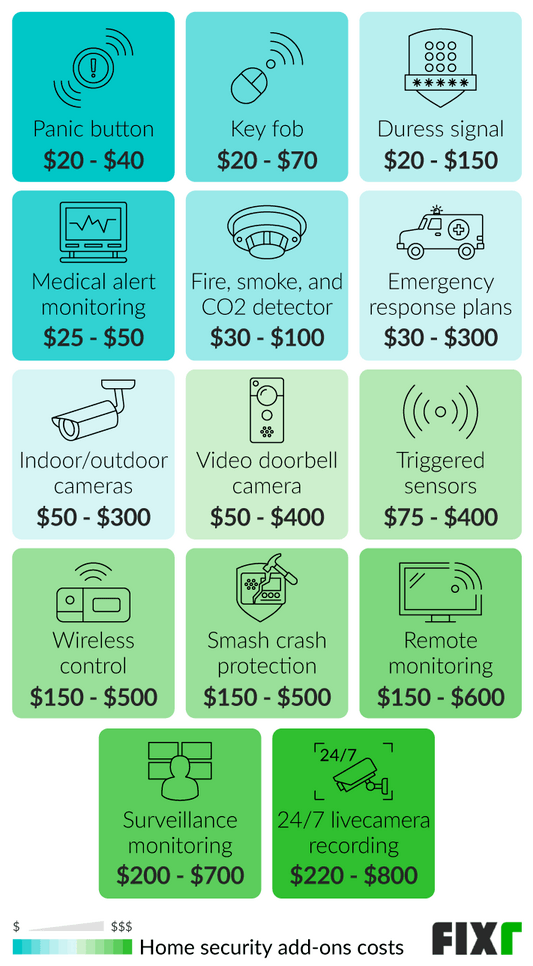
A basic package usually costs between $150 and $300. You'll want a siren—the noise is often enough to scare someone off. You can also add glass break sensors or water leak detectors if you're worried about specific risks like burst pipes.
Before you buy anything, assess your home’s vulnerabilities. Consider the number of doors and windows, potential entry points, and areas where an intruder might hide. Don’t overspend on equipment you don’t need. A well-placed motion detector is more effective than a dozen cheap sensors. Prioritize securing the most vulnerable areas first.
How to install it
Installing a DIY security system is a manageable project, even for beginners. First, plan your sensor placement. Think about traffic patterns and potential entry points. Doors and windows are obvious choices, but also consider basement windows and any easily accessible upper-level windows. Next, mount the base station in a central location with a reliable power source and a strong Wi-Fi signal.
Once the base station is set up, pair your sensors. This usually involves scanning a QR code or entering a serial number in the system’s app. Follow the manufacturer’s instructions carefully. After pairing, install the sensors on doors, windows, and walls, using the included adhesive strips or screws. Proper placement is crucial for accurate detection.
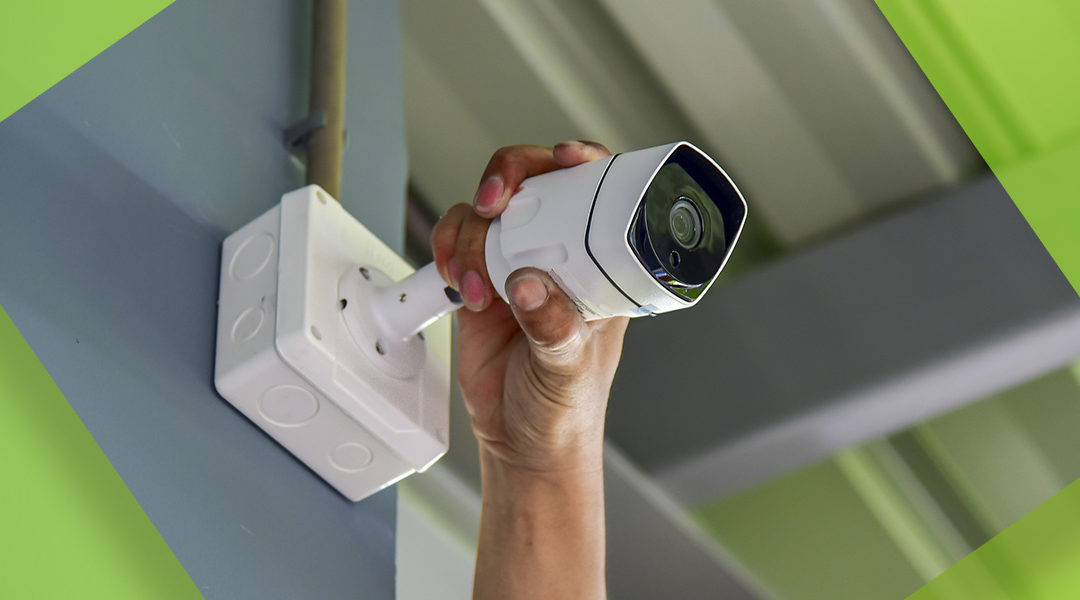
Installing cameras requires a bit more thought. Consider power sources – you’ll need to plug them in or rely on battery power. Ensure a clear view of the area you want to monitor. Setting up the mobile app is the final step. Follow the on-screen prompts to connect the system to your Wi-Fi network and configure your monitoring preferences. Then, test each component to ensure it’s working correctly. Trigger each sensor and check if the alarm sounds and if you receive notifications on your phone.
Don’t rush. Double-check your work as you go. Most systems use a guided setup in the app that handles the technical heavy lifting for you.
It’s also important to read the manual. Each system has its own quirks and best practices. Familiarize yourself with the system’s features and limitations. And remember, if you get stuck, the manufacturer’s website usually has helpful FAQs and troubleshooting guides.
Content is being updated. Check back soon.
The Wi-Fi trap
Many DIY security systems rely on Wi-Fi to communicate with your smartphone and the monitoring center (if applicable). This makes a strong, stable Wi-Fi signal essential. A weak or unreliable connection can lead to false alarms, delayed notifications, or even a complete system failure. Before you install anything, test your Wi-Fi coverage throughout your home.
Use a Wi-Fi analyzer app on your smartphone to identify dead spots or areas with weak signal strength. If you find any, consider using a Wi-Fi extender to boost the signal. A mesh Wi-Fi system can also provide more consistent coverage. Remember that a flaky Wi-Fi connection can render your entire security system useless, no matter how much you've spent on equipment.
Also, be mindful of security. Using a public Wi-Fi network to connect your security system is a bad idea. It’s vulnerable to hacking and eavesdropping. Always use a secure, password-protected Wi-Fi network.
Troubleshooting Common Issues
Even with careful installation, you may encounter some issues. Sensors not connecting is a common problem. Make sure the sensor has a fresh battery and is within range of the base station. False alarms can be caused by pets, drafts, or improperly positioned sensors. Adjust the sensitivity settings or relocate the sensor.
Camera connectivity issues can be frustrating. Check your Wi-Fi connection and ensure the camera is properly plugged in. App glitches are also common. Try restarting the app or your smartphone. If you're still having trouble, check the manufacturer’s website for FAQs and support documentation.
DIY support is limited. If something breaks, you're usually searching Reddit or manufacturer forums rather than calling a dedicated technician. It's the trade-off for skipping the monthly contract.
Content is being updated. Check back soon.
Beyond the Basics: Expanding Your System
Once you have a basic DIY security system in place, you can expand it to meet your evolving needs. Adding more sensors is a simple way to increase coverage. Integrating smart locks allows you to remotely lock and unlock your doors. Automating lights can create the illusion that someone is home, even when you’re away.
Connecting your security system to voice assistants like Amazon Alexa or Google Assistant provides hands-free control. Regularly updating the firmware and software of your security system is crucial for maintaining security and ensuring compatibility with new features. Keeping your system up-to-date protects against vulnerabilities and ensures optimal performance.
Consider adding environmental sensors, like water leak detectors, to protect against hidden damage. The possibilities are endless, and you can customize your system to fit your specific lifestyle and security concerns.
After reading this guide, are you more likely to install a DIY security system or hire a professional?
We want to hear from you. Whether you are a seasoned DIY enthusiast or prefer the peace of mind that comes with professional installation, your perspective helps our community understand the real-world trade-offs. Vote below and share your reasoning in the comments.


No comments yet. Be the first to share your thoughts!